The Making of Mel - Building A Bichuunen
This section will focus on the production of my thesis!
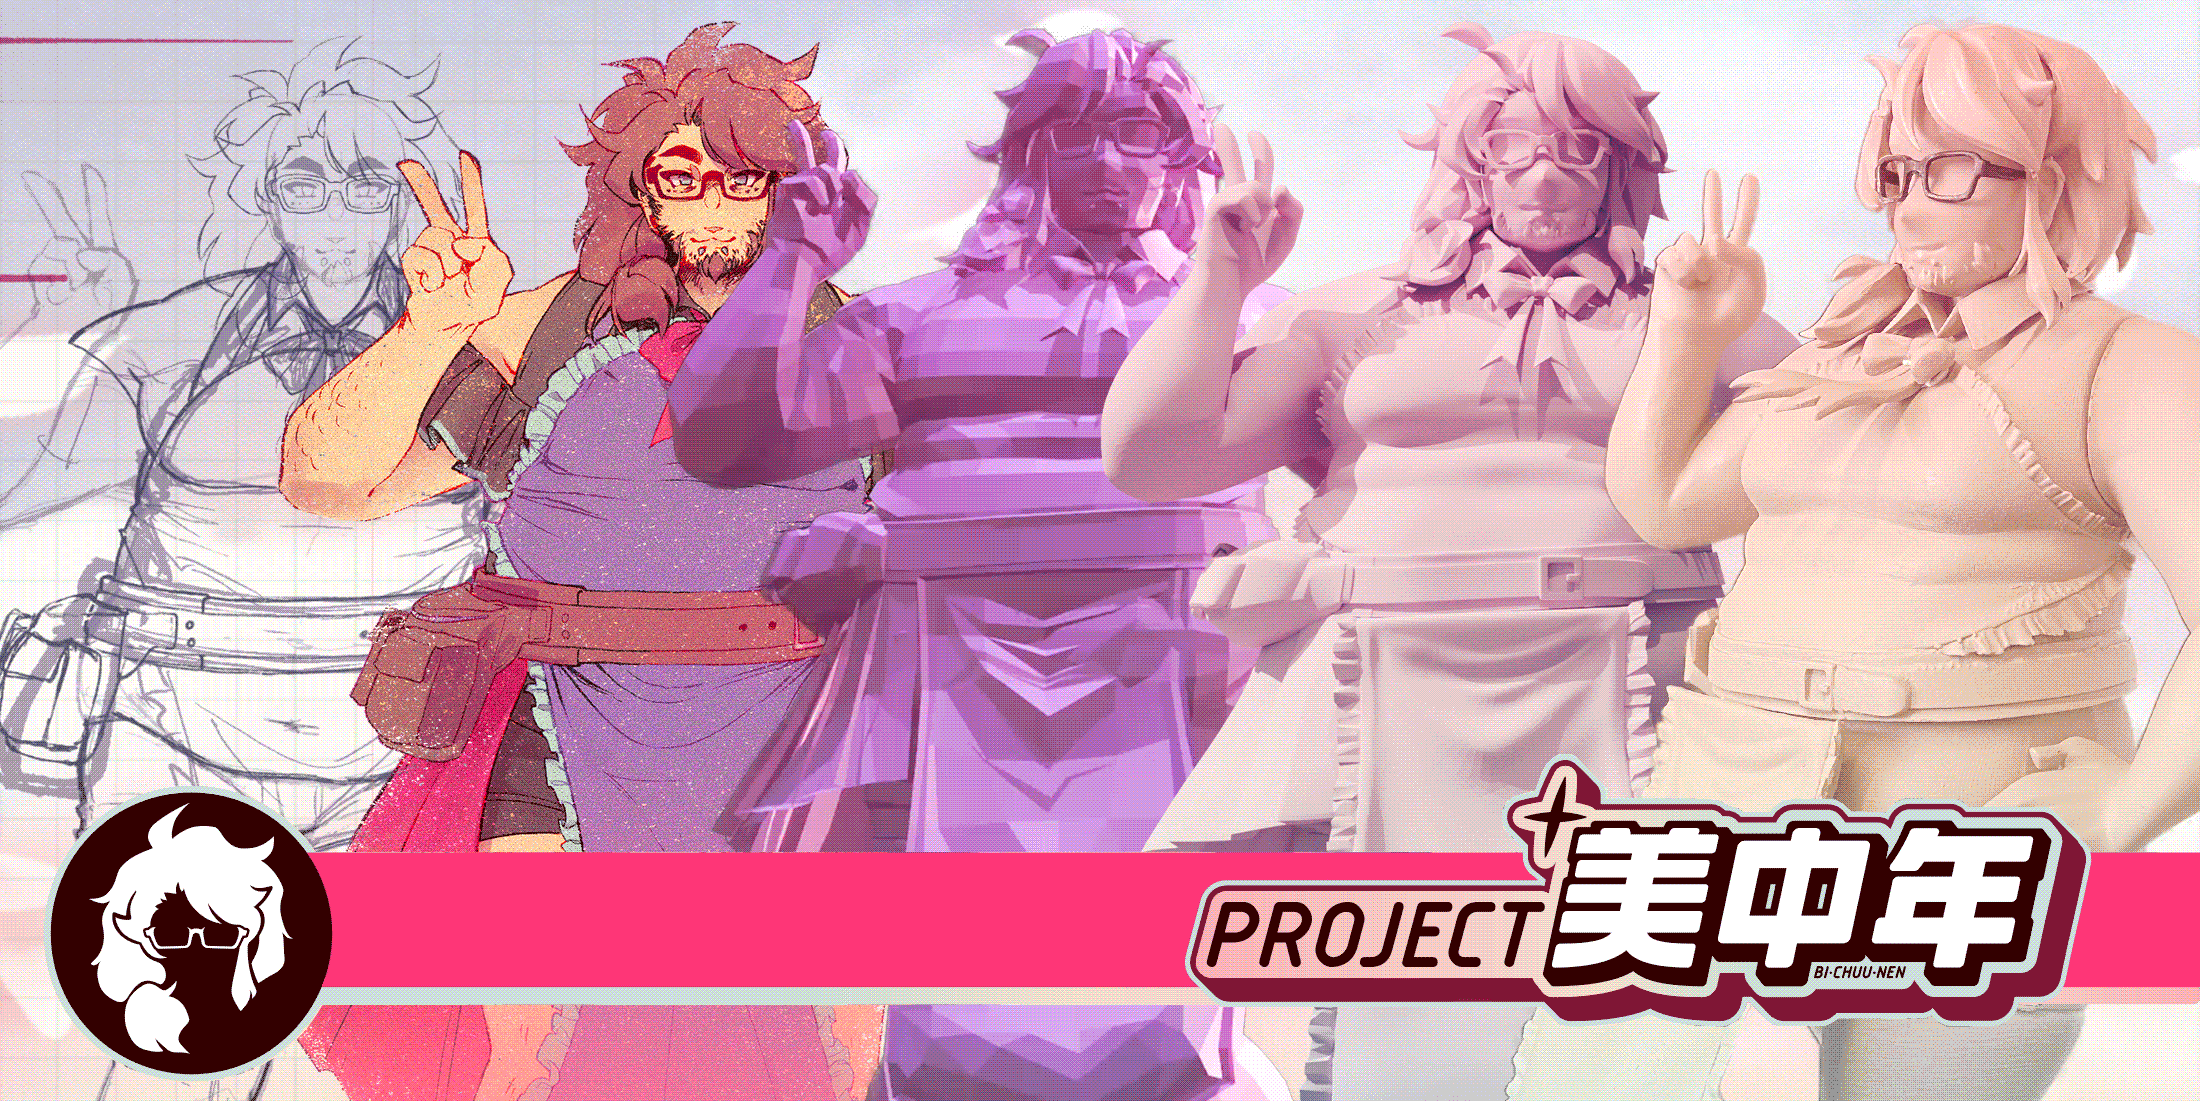

At the beginning of this project, I only knew one thing was certain:
I was going to build a scale figure of my original character.
It was the summer of 2023, as I was walking to work, when the idea suddenly materialized. I'd been interested in anime figurines and related hobbies for
quite a while, owning a modest collection, and was considering the field of garage kits - resin figure kits that buyers paint and assemble themselves.
It was only on this day that I realized my thesis was the perfect chance for me to delve into this field. It would give me an excuse to assemble and consistently
brand a full tribute to my beloved original character. But I would only have 15 weeks to do it.
A figure and a box were the only concrete deliverables I had in mind at first. Therefore, I'd get building, and the rest would materialize later.
And indeed it did; as I worked on my piece I began to come up with other miscellaneous merchandise and avenues. Around midterms I came up with the idea
of double-sided acrylic charms. On week 10 I decided to write and illustrate a series of 4-panel comics (known colloquially as 4koma).
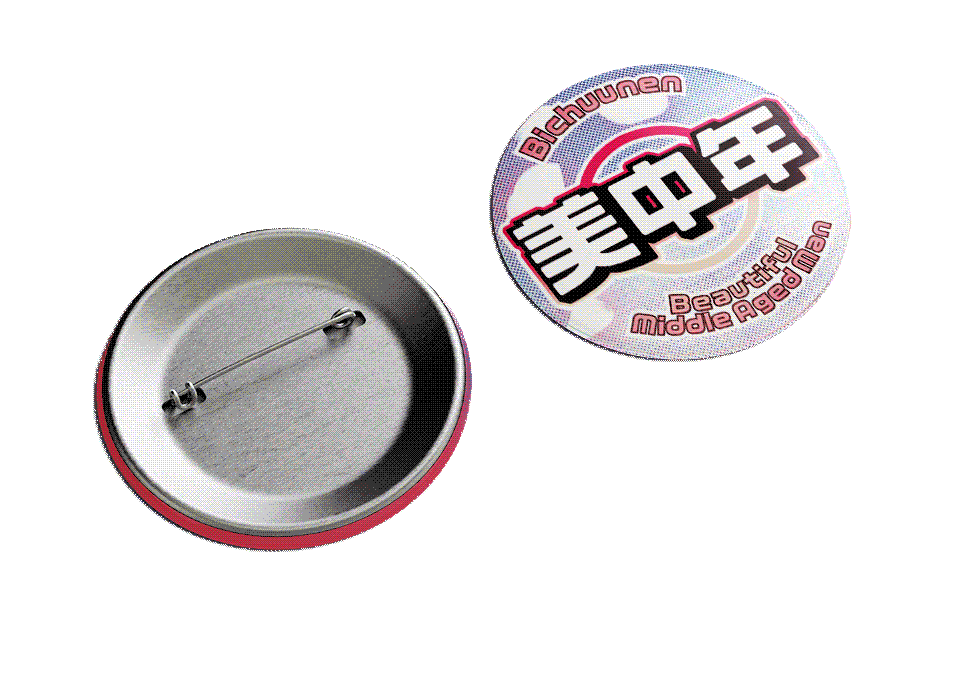
On week 13 I came up with the idea for pins I could design and hand out at the year-end show.
And, of course, somewhere along the way, I created this website to document it all.
How, then, did I do it?
Step 1 - Digital Modeling
First, I had to teach myself how to 3D model.
The process has been long, challenging, and rewarding! The program that I chose to model in is the free and open-source engine Blender.
To begin, I indulged myself in two or three online tutorial videos for absolute beginners. And it kind of shocked me how fast I caught on to the interface. Before I started, I was scared it would have been way harder than it looked in the tutorials, but it was actually super easy.
Starting out every Blender project, you get a simple cube. It wasn't long until I divided that surface and sculpted into a low-poly but solid face shape.


It's important to block out your forms to get the approximate shape before you refine them and make them super smooth. It's easier to edit this way!

Now that's a face!
The hair was a bit strange to start, as someone with about 2 hours of blender experience under his belt. I'd watched timelapses of people sculpting in Blender before, and tried to get into the workflow like I saw them doing. And by some miracle, a passable set of hair bangs appeared before my eyes.


Woah!
Alright, let's start sculpting this Greek god of a man's body. My main goal is to sculpt fat rolls in a way that looks smooth and natural. It really makes you think about how there are hardly examples of fat characters in anime that are purposefully shown to be beautiful. If no one else will do this, it is my duty to...


Since a torso and legs are basically just refined cylinders, it's pretty easy to extrude mesh down and shape them that way! By now, I'm totally enthralled by this process. I never expected to enjoy 3d modeling this much.


Going in and doing the boots is interesting. I have to sculpt the body symmetrically first before I start posing him, so I really only have to sculpt one boot and mirror it. This is coming along nicely!


It's torso hour! Of course it's an anime design staple for a character to have a prominent chest (lol) though I'm still trying to keep it realistic with the fat rolls on his stomach.


Alright, time to block out some accessories. First I tackled the collar and bow tie, which I tried because I thought it would be easy. The bow tie, yes! The collar was kind of hellish, though. It was difficult to wrangle something both radially and symmetrically, so I ended up doing a lot of work unmirrored. Sigh!!
Alright. I've gotten this far along, and the bow tie is very small. Maybe I should practice smoothing objects out...?

Easier than I thought! The Subdivision Surface tool helps you do this a lot by dividing each surface plane into smaller pieces which flow nicely together.
Let's go back to the hair. I get distracted pretty easily, so my workflow tends to be all over the place. The hair bangs gave me a bit of difficulty, but at least I was used to it, so I was able to keep up my hair-sculpting abilities for the back of his head, thankfully! It can be hard to truly visualize it without having it subdivided and smoothed, but that'll come later. I want to finish blocking first before I start smoothing all the pieces.


Speaking of blocking, let's keep going with the accessories. Glasses, Side skirt and fanny pack, let's go!

Alright, a lot of our body components are blocked out! I saved a new file and started posing him. I don't know how to add bones and rigging to a model, like the kind people use in 3d animation, so I'm posing him manually. This means I have to save iterations of the file so I can go back in case I make a mistake.


I'm generally pretty good at illustrating fabric folds, but I'm still pretty new to 3d sculpting, so it was a little difficult to make his apron skirt. It didn't really come out as flowy as I wanted, but I still managed to block out some realistic folding action.

Sigh. It's time to make his arms now. I was dreading this part, I think. since arms are more difficult to make realistic than legs. But it strangely didn't give me too much trouble!


Look at how far we've come! We're really all blocked out now!

We know what that means. Time to smooth him out!
At this point I'm just breezing through this process. It surprised me exactly how comfortable I got with Blender in such a short time. Even the shoelaces, which I was a little bit scared to do, were pretty easy to build with curved lines.


I'm also getting to add smaller details, like lace trim around his boots and apron. I only had to sculpt a small length of lace, and can pretty much copy and paste it around. I just have to make sure it smoothly hugs the curves of the figure, and isn't floating apart from him (lol)
See how pretty he looks!

Another thing I have to take into account when building him is how I'm going to piece him together.
I'm giving his pieces interlocking mechanisms so that when they print, I can fit his components together like lego. I have to add a small allowance in between interlocks, so that I'm sure the pieces can fit smoothly and I won't have to force them together.
I'm also hollowing out some of the larger pieces, like the legs, arms, and torso. This will make them a little less heavy, and they'll take a little less time to print.


Everything is almost done!
I saved the smoothing of the hair for last, since I was a little intimidated by it. Anime figures have really sleek and streamlined hair, so I was a little worried I wouldn't be able to manage the smooth but crisp effect.
The answer was creasing! After smoothing out the surface with Subdivision Surface, you're able to select individual edges and sharpen them so they stand around. It was an intricate process, but it made such a huge difference in creating some crisp and pleasing hair.


If you can believe it, we're finished now! After only a few tiny details to fix, we are finished and completely ready to print!

I'm completely baffled at how I managed to learn to do this That Fast. I'm extremely happy with myself for accomplishing something like this, in around 11 weeks.


The first phase of production is done. Full speed ahead!
Step 2 - 3D Printing the parts
You would think that this would be the easy part, after learning how to 3d model from scratch, but alas.
My school's production lab has two 3d printers. One filament printer, and one resin printer. If you don't know anything about 3d printing, like I did, here's the gist-
Filament printing involves plastic filament being extruded through a nozzle, being used to "draw" layers of material on top of each other. Resin printing,
or photopolymerization, builds layers of hardened material by exposing liquid resin to a lightsource, solidifying it layer by layer.


Generally, filament is suited to building larger,less detailed objects, while resin can build smaller, very detailed objects.
Resin is also a standard material for figure kits, so I opted to print out all the parts (that I could) using the resin printer.

The very first component I printed, before midterm break, was the bow tie.
The component was so small that the two ribbons attached to it failed to print properly, leaving me with a simple bow. Oh, well. I could deal with the consequences of that later.
Since I was still working on smoothing and finishing up my 3d model parts, I opted to start printing completed parts while still digitally sculpting my yet-incomplete ones.


Next were the skirt and base. Since the resin printer's printing area is so small, I could really only print out one component in it at a time, and each component took 4-6 hours.
So in the meantime, I decided to set up the filament printer with the figure's base!
The next part ready to be printed was one of his boots. Strangely, the curing process failed in a strange way that made it look like he broke his ankle. That ended
up being my test piece to try out different kinds of paints and primers on!


Thankfully, it was possible for me to set several smaller pieces to print in resin at the same time, so I also got glasses and hair bangs out of that session! Wowee!! They look so good. I'm so happy with the level of detail!

At this point, it was time to start sanding and priming my pieces.
Resin pieces are printed with supports, which are small, spindly connectors used on overhangs to keep the model attached to the print area. After they're removed,
the surface of the print needs to be sanded down to get rid of the "stumps" they leave behind. Also, on lower-resolution prints, sanding removes the layer texture
from the surface. The layer texture is a lot more evident on filament prints, but it still shows up a little bit in resin, too!
Priming the pieces means spraying the surface with a base coat to even it out and allow you to paint over it.


Aw yeah


It feels so good to watch it all come together. Some of the connectors I sculpted don't cure quite right, so I have to manually carve them out with tools in order to fit some of the pieces together. That's okay, though. If there are any pieces that fit together unevenly, I can fix them later with sculpting putty.


At this point, most-if not all-of my smaller pieces are printed out. It's quickly nearing crunch time, and the lab techs who know how to help me use the
resin printer only work 2 days a week.
I've only got 5 large pieces left to print, and I'm going to have to print them in filament.


Printing filament at the ultra-high resolution I need to capture the detail in my pieces is not easy.
Setting large pieces to print at that level of detail takes around 24 hours to complete, with a lot of room for things to go wrong before it finishes. Indeed, while my
stomach piece came out flawlessly, the torso piece failed after about 95% completion.
This sucks, but it made me realize that filament could not properly build the small details of the lace on the torso, so I'd have to reprint it in resin anyway.
Plus, having it gave me a good idea of how it was able to connect with the arm pieces. Only a little bit more to go!

Almost there! It's now possible to build him up to the torso on the figure stand, thanks to his filament thighs. It feels good to see him stand tall.
The top of the figure stand is also completely sanded and smooth, after having to fill in a few craters with sculpting putty. The colours look weird on it
now, but once it's primed and painted, no one will see it anyway.
And speaking of sculpting putty, I've used it to hand-sculpt the missing ribbon components for his bow-tie. And once it hardens, it's very easy to sand.


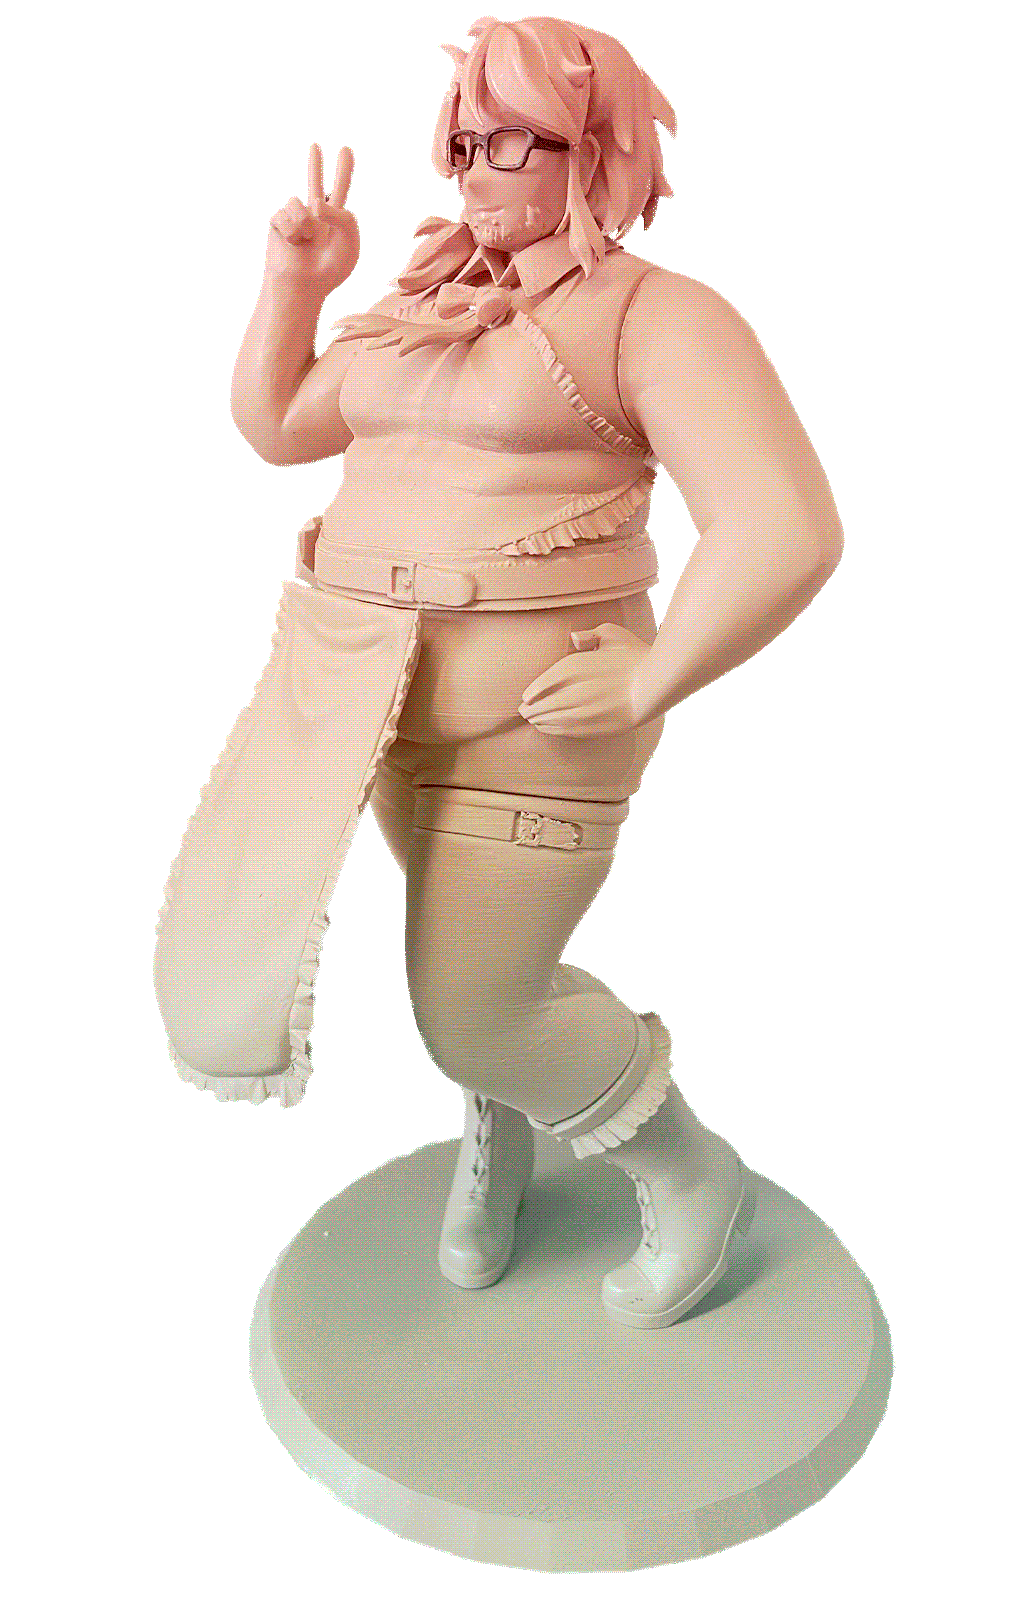
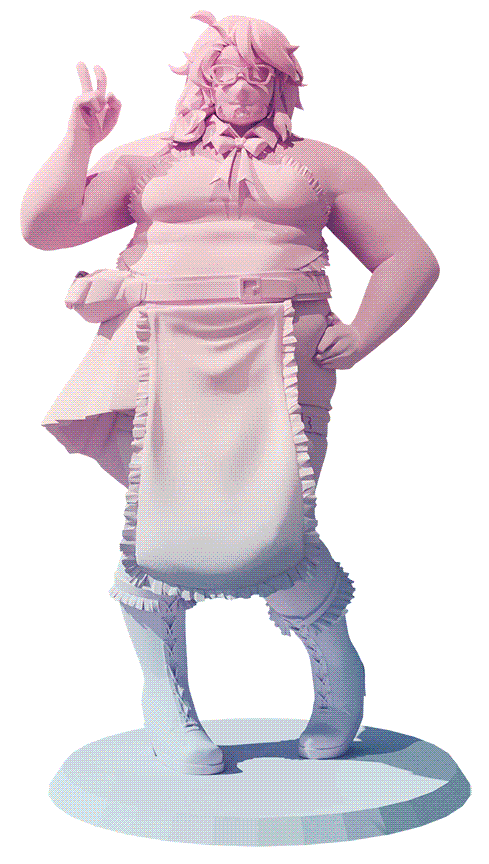
Finally! After all that work, he can finally be completely put together.
Now, for the time being, he's held together using a temporary adhesive for display purposes, since I still need to take him apart, fix up a few imperfections, and paint his pieces individually.
But he's here and he's standing and he's so handsome!!
I've been avoiding updating this site because of burnout from school... @_@ But I still have to document the painting process, SO I WILL! Stay tuned while I format all the images proper for the process. But for now... here's what he looks like painted!! :D


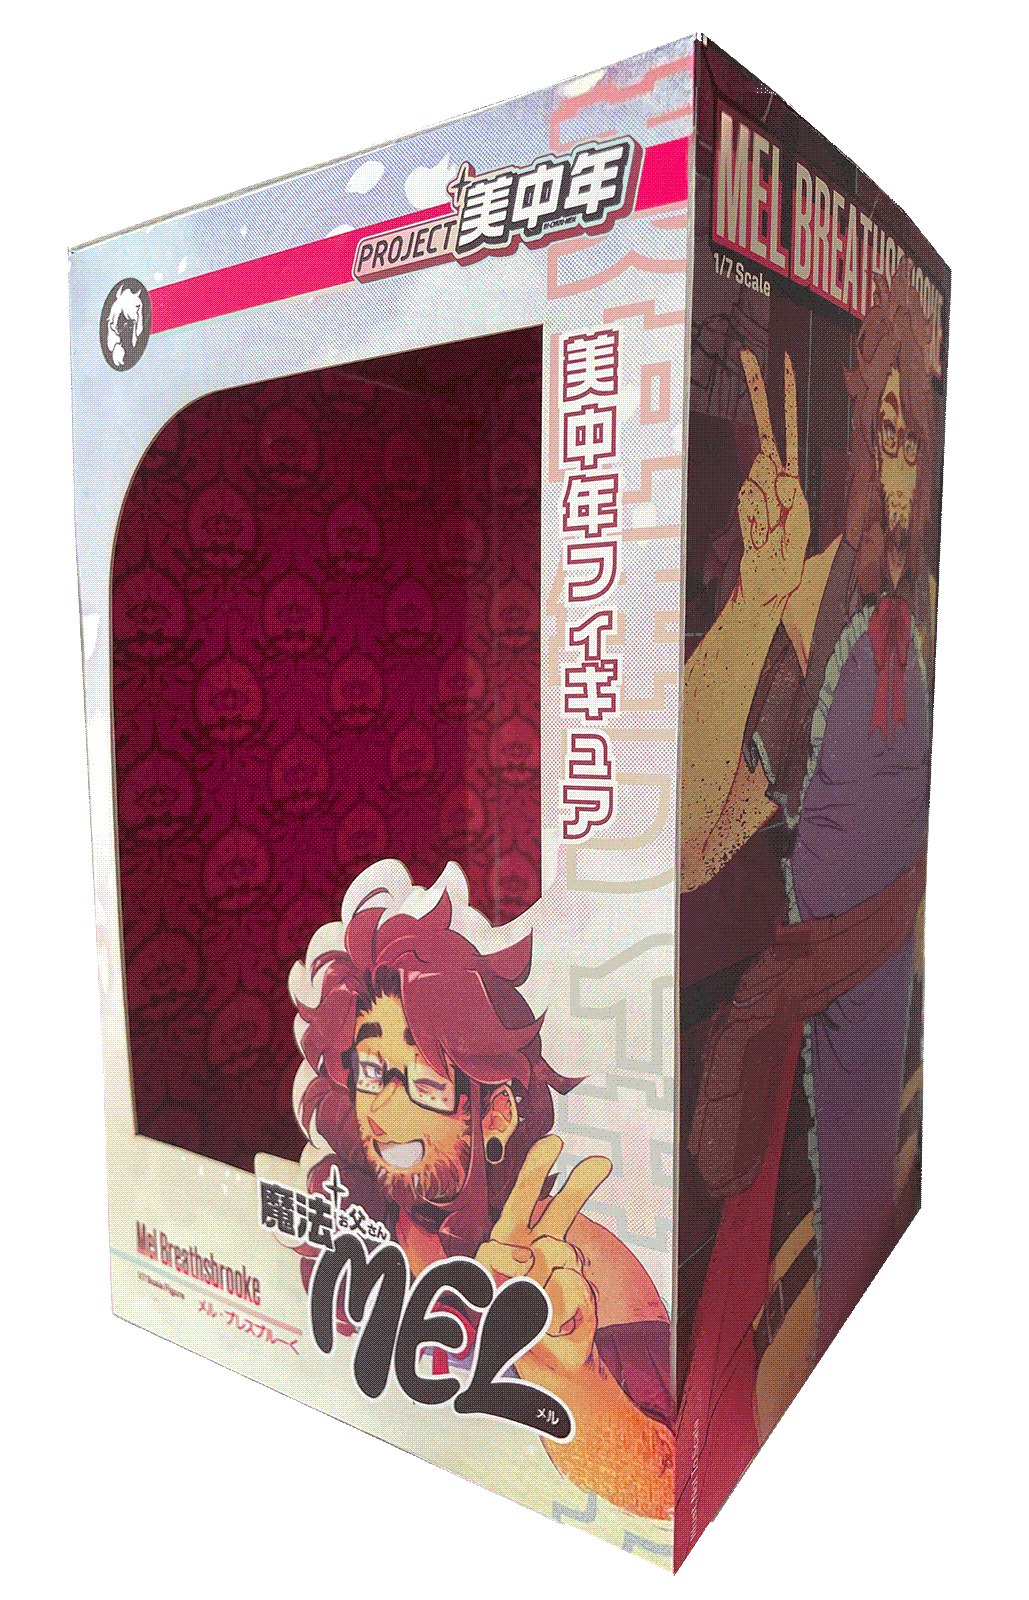
Step 3 - Making A Box for him
And now, a vessel to contain him!


I had an idea of the box from the beginning. It took me quite a while to actually put it into production, though.
Once I finally finished refining the design, I printed out a little test mockup on printer paper to get an idea of how it would look in real life.


It's weird to see a package become real after spending so much time staring at the flatplan on the computer screen!
After taking a look at the printout, I fixed a few small details I'd noticed and got to printing the bigsize version. The real deal.


In order to make sure the box was stable and held itself properly, I decided to make it 3 layers-
First, the exterior design, printed on large-format printer paper, which is super thick and high-quality. Second, a thicker posterboard for some extra strength.
And third, the interior design, which is a repeating pattern on the inside you'll be able to see by looking through the package's window cutout.


The package has come together! The three layers has made the box a bit sensitive to folding, so I'll have to tidy up the corners and edges a little bit before it gets displayed at the year end show. But for my first ever foray into the packaging game, it's not too shabby!
Other Applications For Him
Something else I decided to do was make a series of 4-panel gag comics featuring Mel and his loved ones. I thought that
this could be a really fun way to further expand on the world of the character, and help viewers know and understand him a little bit more.
The title of the comic is "Magical Otou-San Mel -Day To Day In The Middle Of The Suburbs-" and it recounts some silly anecdotes one would expect from a
neighbourhood dad who transforms into a magical-girl.
Yes, this is real, I did actually draw a comic! It will be printed and read from right to left, in the Japanese manga format.
It can also be read online Here!!